How to Build a Simple Camp Kitchen Setup
One of the fastest ways to make camping feel easier — and honestly, more fun — is building a simple, organized camp kitchen. Cooking outdoors doesn’t have to mean chaos, lost utensils, or digging through coolers while your food gets cold. With a smart setup and a simple workflow, you can cook meals efficiently, keep your campsite clean, and spend more time enjoying the outdoors.
The good news? You don’t need a complicated or expensive kitchen setup to cook great meals at camp. A few thoughtful choices and a little organization can completely transform your outdoor cooking experience.
Let’s walk through how to build a simple camp kitchen that works for beginners and experienced campers alike.
Step 1: Choose the Right Cooking Location
Before you unpack any gear, think about where your kitchen should live within your campsite. A well-placed cooking area makes everything safer and more convenient.
Look for a space that is:
Flat and stable
Downwind from your tent (to keep cooking smells away)
Close enough to your cooler and supplies for easy access
Away from heavy foot traffic
If your campground provides a picnic table, that’s usually the perfect starting point. If not, a portable camping table can create a stable prep and cooking surface.
Pro Tip: Try to keep cooking and food storage at least 50–100 feet from your sleeping area, especially in areas with wildlife.
Step 2: Build Your Cooking Station
Your cooking station is the heart of your camp kitchen. Keeping it simple makes meal prep much smoother.
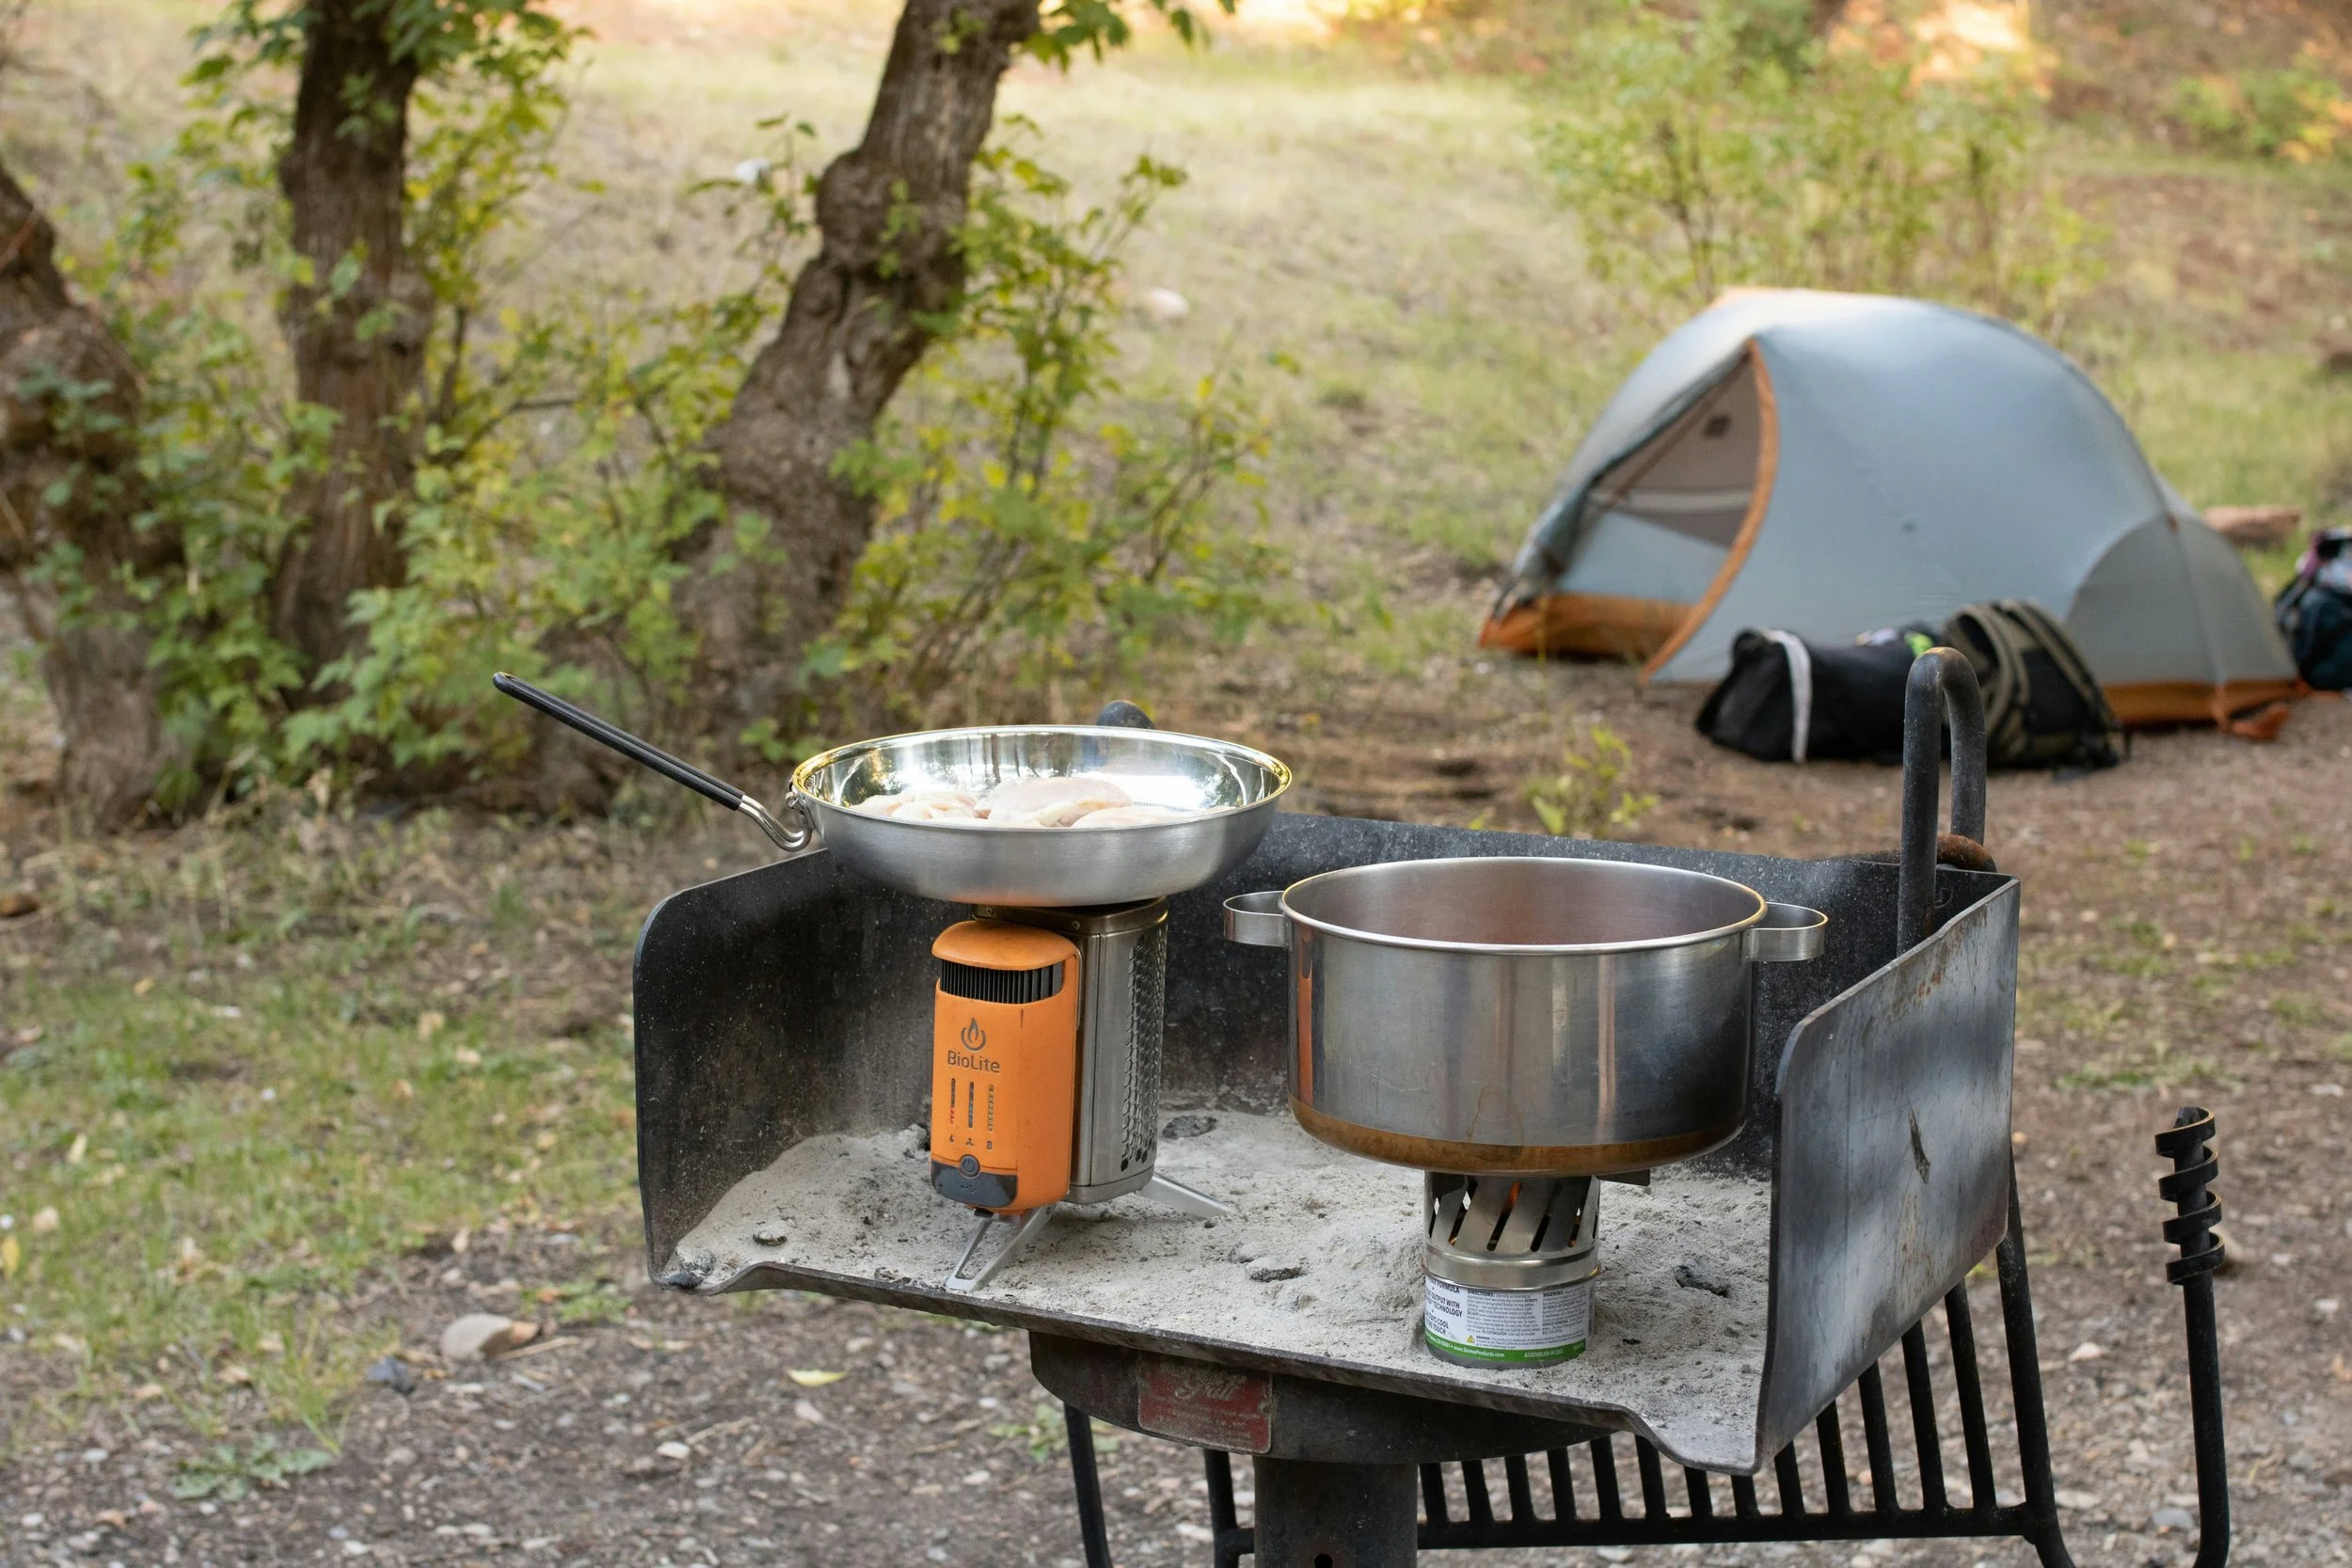
Camp Stove Setup
A reliable camp stove provides consistent heat and removes the guesswork that comes with campfire cooking. Single-burner propane or butane stoves are beginner-friendly, affordable, and easy to pack.
When setting up your stove:
Place it on a flat, stable surface
Keep it away from tent walls and flammable gear
Position fuel canisters securely and upright
Use a windscreen or natural wind barrier if needed
Testing your stove at home before your trip can save frustration when you’re hungry and tired.
Cookware and Utensils
You don’t need a full kitchen set. Most camping meals can be made with just a few essentials:
One pot
One pan
A spatula or stirring spoon
Tongs or a serving utensil
A durable spork or utensil set for eating
Choose nesting cookware sets to save space and keep everything organized.
Pro Tip: Store cooking utensils together in a zippered pouch or small storage container so they’re easy to grab during meal prep.
Step 3: Organize Your Food and Cooler
A messy cooler or scattered food supplies can slow down cooking and create unnecessary stress. Building a simple food organization system makes everything easier.
Cooler Organization Tips
Store raw meats in sealed containers at the bottom
Keep drinks in a separate cooler if possible
Use labeled containers or resealable bags for ingredients
Freeze water bottles ahead of time to act as ice packs
Keeping your cooler organized reduces the amount of time it stays open, which helps food stay colder longer.
Dry Food Storage
Dry goods like pasta, spices, snacks, and coffee should be stored in a dedicated food bin or tote.
This keeps items:
Easy to find
Protected from moisture
Less likely to attract animals
Clear storage bins work especially well because you can quickly see what’s inside.
Step 4: Create a Simple Prep Area
Food prep doesn’t need to be complicated, but having a designated space makes cooking faster and cleaner.
Your prep station should include:
A small cutting board
A pocket knife or food-safe knife
Paper towels or reusable towels
Trash and compost bags
Many campers use the same table for prep and cooking, but keeping tools organized prevents clutter and cross-contamination.
Pro Tip: Prep ingredients at home whenever possible. Pre-cut vegetables, measure spices, and marinate meats before leaving. This saves time and reduces cleanup at camp.
Step 5: Plan Your Cleaning Station
Cleaning up right after meals keeps your campsite tidy and discourages animals from visiting.
A simple dishwashing system usually includes:
A collapsible wash basin or sink
Biodegradable soap
A sponge or scrub brush
A drying towel or rack
Many campers follow a three-step cleaning process:
Scrape food scraps into trash bags
Wash with warm, soapy water
Rinse and air dry
Always dispose of dishwater at least 200 feet from lakes, rivers, or streams to protect water sources.
Step 6: Build a Smooth Cooking Workflow
An efficient kitchen setup is all about flow. Try to arrange your camp kitchen in a logical order:
Food storage → Prep station → Stove → Cleaning station
This setup allows you to move naturally from one step to the next without constantly searching for gear or ingredients.
A little planning helps prevent clutter and keeps meals running smoothly, even in small campsites.
Step 7: Keep Safety in Mind
Cooking at camp comes with a few important safety considerations:
Never leave stoves or fires unattended
Store fuel safely and away from heat
Keep a water bottle or extinguisher nearby when cooking
Store food and trash securely after meals
Allow cookware to cool before packing
A safe kitchen is a relaxed kitchen — and it helps protect both campers and wildlife.
Final Thoughts
Building a simple camp kitchen setup doesn’t require fancy equipment or complicated systems. With a reliable stove, organized food storage, a small prep area, and a basic cleaning station, you can cook comfortably almost anywhere.
The goal isn’t perfection. It’s creating a setup that helps you cook meals easily, keep your campsite clean, and spend less time searching for gear — and more time enjoying your trip.
Over time, you’ll naturally adjust your kitchen setup to match your cooking style and camping preferences. But starting simple is always the best recipe for success.
Happy camping,
JP